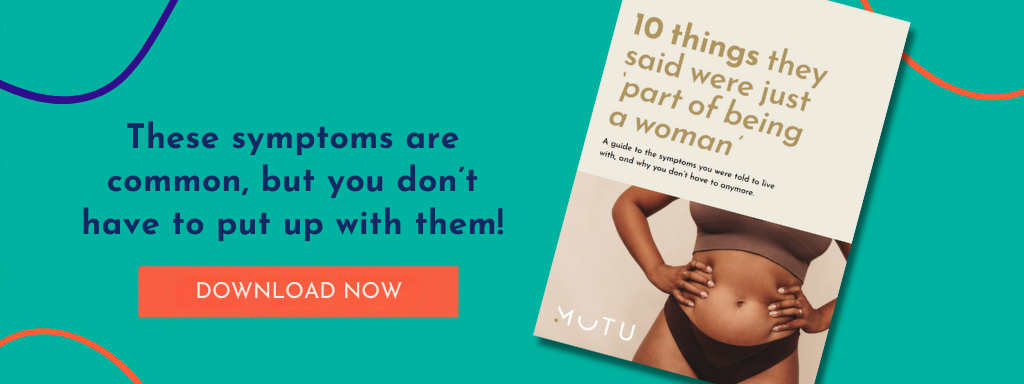
We’ve picked 7 of our best postpartum pelvic floor exercises to gently reengage your core and improve your pelvic floor health whilst avoiding over tightness.
From Triangle Pose, Heel Drops, Cat/Swan, and Mini-Squats to Lamp Post Pee, Shoulder Taps, and the One Leg Hip Lift, these exercises have been hand-picked for their suitability for moms at any stage of their recovery journey. Start incorporating them into your postpartum exercise today!
Before you start
Before getting started, it’s important to remember that there’s a lot more to pelvic floor exercises than squeeze, squeeze, squeeze.
There’s a complex network of pelvic floor muscles, ligaments, and tendons down there.
While awareness of this region of our bodies is growing, there’s still a lot of confusion about the best exercises and how to do them correctly. The result?
Many moms forget completely, or overdo it and get it wrong.
Many of these are whole-body, stabilizing, and core exercises – know that effective pelvic floor exercises don’t always look like Kegels!
Make a Triangle (Triangle Pose)
This stretch is excellent for stretching and strengthening the legs, hips, and sides of the torso. It also helps improve balance and flexibility.
How to do a triangle pose:
- Stand with your legs wide and straight. Your right foot should point away from you, and your left foot should be slightly turned in.
- With arms outstretched, lean to the right and then bend down to the right with your left arm straight up in the air. Try not to lean forward or back.
- And breathe nice and easily. Only look up if it feels comfortable.
- Come back to standing. Now switch to the other side.
- Left foot points out, right foot slightly in
- Shift to the right and drop down into a side bend. Don’t lean forward or back.
- And look ahead or up to your outstretched arm
- Hold and then come back to standing
- Arms down and foot back to the front
MUTU Favorite Pelvic Floor Exercises! The Heel Drop
This exercise will help you increase core strength, engage your pelvic floor and target your deep abdominal muscles.
How to do a heel drop:
- Lie on your back on the mat.
- Place a pillow under your upper shoulders and head, allowing your ribs to settle down towards the floor.
- Bend your knees and keep your feet flat on the floor.
- Bring your knees toward your chest so they rest at 90 degrees, ensuring there’s no strain to hold them there.
- Exhale as you draw your abs inwards and slowly drop one heel to touch the floor, resting it there as you inhale.
- Exhale again as you bring the heel back up.
- Breathe into the back of your ribcage.
- Repeat the process for the other heel, exhaling as you engage and drop, inhaling as you rest.
- Continue moving slowly with your breath, exhaling to engage and inhaling to relax.
- Your lower abdomen should gently draw in as you exhale and engage. If it bulges outwards, stop, regather, and try again.
- Always inhale and relax as you rest, and exhale while engaging your core and pelvic floor as you move.
- Keep going in time with your own breath.
- Do one more on each leg, exhaling to engage and drop the heel to the floor, then inhaling to rest.
- Finally, drop one foot to the floor, and then the other, and rest.
Cat To Swan
This one’s great for improving spinal flexibility, strengthening the back muscles, and promoting core engagement. Remember to perform it mindfully, focusing on your breath and maintaining proper form throughout the movement.
How to do the Cat to Swan:
- Start in a tabletop position with hands under shoulders and knees under hips, resembling a neutral spine.
- Begin with the Cat-Cow stretch:
- Inhale, arch your back (Cow), lifting your head and tailbone.
- Exhale, round your back (Cat), tucking your chin to your chest.
- Return to tabletop position after a few rounds.
- Transition to Swan:
- Extend arms forward, shoulder-width apart, palms down.
- Inhale, lift your upper body while keeping your legs down.
- Lengthen through the crown of your head, engaging your back muscles.
- Hold briefly, feeling a spinal stretch.
- Exhale, lower your upper body to tabletop position.
- Repeat the sequence, flowing between Cat-Cow and Swan for repetitions.
Mini-squat
Also known as a half squat or shallow squat, this simplified version of a full squat exercise is awesome for working on lower body strength and mobility while being less demanding than a full squat. As your strength and mobility improve, you can gradually work towards performing deeper squats.
How to do a mini-squat:
- Stand with your feet shoulder-width apart or slightly wider.
- Keep your chest up, shoulders back, and your gaze forward.
- Begin the movement by bending your knees and hips simultaneously, as if you are sitting back into a chair.
- Lower your body down only about halfway or until your thighs are roughly parallel to the ground. You should not go as low as you would in a full squat.
- Keep your weight on your heels and your knees tracking in line with your feet. Ensure your knees do not go beyond your toes.
- Pause briefly at the bottom of the mini-squat.
- Push through your heels to stand back up, straightening your knees and hips to return to the starting position.
- Repeat the movement for a prescribed number of repetitions.
MUTU Favorite Pelvic Floor Exercises! The Lamp Post Pee
Awesome for strengthening the hip abductor muscles, enhanced balance, improved core engagement and posture improvement.
How to do the lamp post pee:
- Start on your hands and knees in a tabletop position, with your wrists directly under your shoulders and your knees under your hips.
- Engage your core muscles to stabilize your spine.
- Lift your left knee off the ground and extend it out to the side, away from your body. This movement should resemble a dog lifting its leg to pee on a lamp post or fire hydrant (lol!)
- Hold your left leg in the raised position for a moment, focusing on engaging your hip muscles.
- Slowly lower your left knee back to the starting position.
- Repeat the same movement on the right side, lifting your right knee out to the side.
- Hold for a moment, then lower your right knee back to the starting position.
- Continue alternating between the left and right sides for the desired number of repetitions or duration.
Shoulder Taps
A bodyweight exercise that targets the muscles of the core and shoulders while also engaging the chest, triceps, and upper back. Yes, these stabilizing and core exercises really are pelvci floor exercises!
How to do shoulder taps:
- Find yourself a trusty chair or cozy couch, something you can lean on.
- The further you step your feet away from that chair, the spicier this move gets. So find a level thats comfortable to you.
- Now, take a deep breath and make sure those arms are kinda straight, but don’t go full robot mode and lock them up.
- And oh, don’t forget to check in with your body. There’s no need to tense up anywhere.
- As you breathe out, gently engage your inner core and lift one hand off the chair to give the opposite shoulder a little love tap.
- Keep that body steady – no tipping, swaying, or shaking. Only that hand on the move, while your core plays superhero.
- Inhale and gracefully return your hand to its cozy spot on the chair. This is all about slow-mo and control, with your trusty core holding you down.
- Now, repeat this beauty for a total of 10 reps, alternating taps – 5 on each shoulder – balance is key!
MUTU Favorite Pelvic Floor Exercises! Staggered Step and Pull
This last one’s a great way to engage your core while working on stability and posture.
How to do a staggered step and pull:
- Grab yourself an exercise band, or alternatively, a pair of tights or anything that can give you a gentle pull will do the trick!
- Stand strong, one foot stepping forward, and the other gracefully back. Both legs are like supple tree trunks, not totally locked, and your toes are pointing straight ahead.
- Hold that band or tights right at chest level. But before we dive in, let’s have a quick chat with our shoulders – make sure they’re not trying to creep up towards your ears.
- Take a momma-sized breath in, center yourself, and brace for action. Your band is like your trusted sidekick, held right in front of you. Arms? Straight but not on lockdown – give ’em a little bend at the elbow
- As you breathe out, engage your inner core and gently pull the ends of the band apart. Don’t yank it like you’re in a tug-of-war with your kiddos – find that sweet spot where your core naturally kicks in to lend some support. No trembling or wobbles if you can help it – we’re all about stability here.
- Take a mom-approved inhale, release that engagement, but keep the band right where it is – don’t let it drop.
- Now, let’s repeat this for a cozy set of 5 reps!